New to n8n? Start with our step-by-step setup guide, then come back to build this workflow.
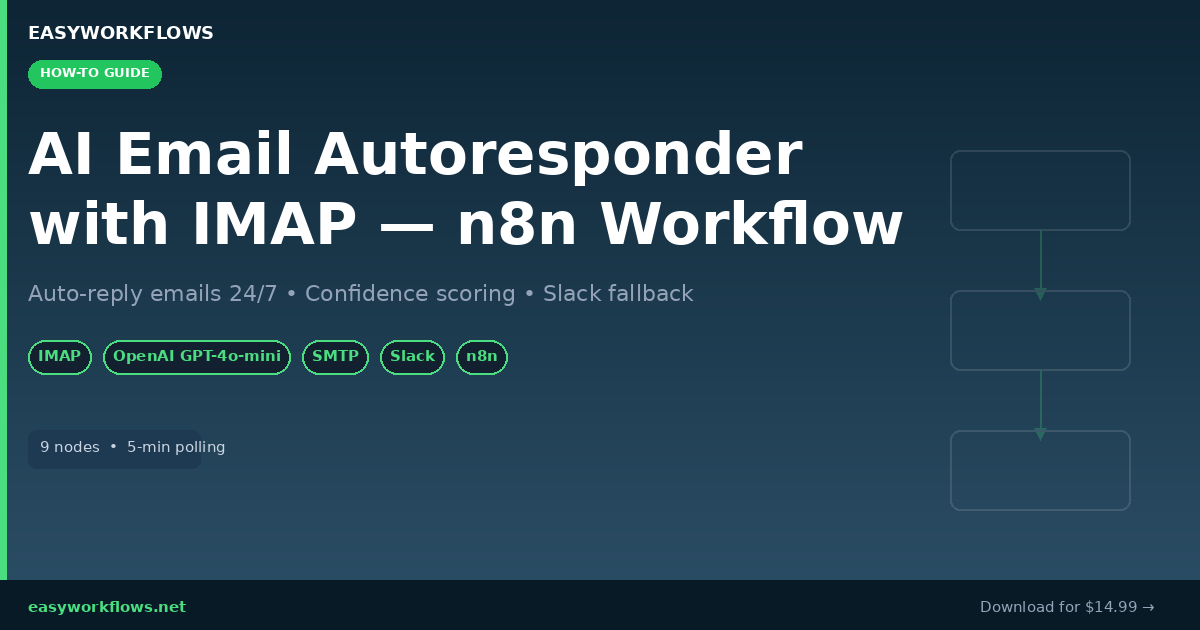
Answering emails takes time, and often the same questions arrive over and over. With n8n and a little AI, you can automate 80% of your inbox replies without writing a single line of production code. This tutorial walks you through building a production-ready AI Email Autoresponder that reads your inbox via IMAP, uses GPT-4o-mini to draft contextual replies, sends them automatically when the AI is confident enough, and routes everything else to a Slack channel for a human touch.
By the end you’ll have a workflow that runs silently every five minutes, handles routine enquiries 24/7, and never accidentally fires off a half-baked reply on a sensitive email.
What You’ll Build
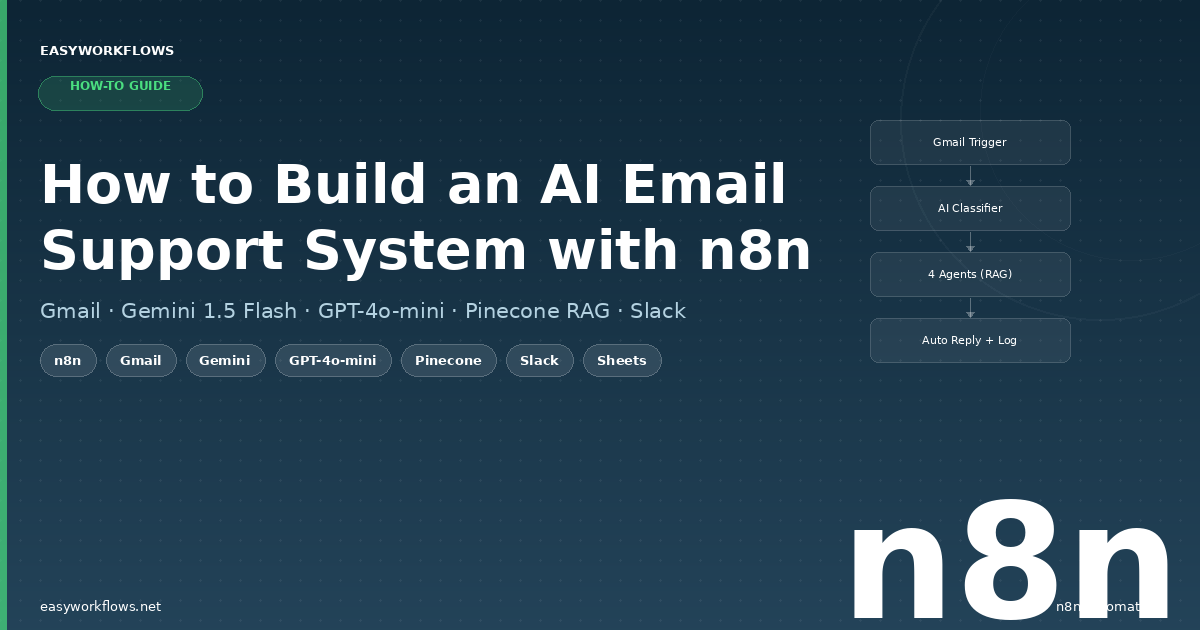
The workflow runs on a five-minute schedule. It fetches every unread message from your IMAP inbox, strips it down to the fields that matter (sender, subject, body), and sends that context to OpenAI’s Chat Completions API. GPT-4o-mini returns a JSON object with two fields: a reply string and a confidence score from 0 to 1. If confidence is 0.75 or higher the reply goes out automatically via SMTP. Below that threshold the draft is posted to a Slack channel so a human can review and decide.
Here’s the full node map:
| # | Node | Purpose |
|---|---|---|
| 1 | Schedule Trigger | Fire every 5 minutes |
| 2 | Read Unread Emails (IMAP) | Fetch unread messages from INBOX, mark as read |
| 3 | Extract Email Fields (Set) | Normalize sender, subject, body into clean variables |
| 4 | Generate AI Reply (HTTP Request) | Call OpenAI Chat Completions, get reply + confidence JSON |
| 5 | Parse AI Response (Code) | Parse the JSON, attach original email fields, derive autoReply boolean |
| 6 | High Confidence? (IF) | Branch: confidence ≥ 0.75 → auto-send, else → human review |
| 7 | Send Auto-Reply (SMTP) | Send the drafted reply to the original sender |
| 8 | Flag for Human Review (Slack) | Post the AI draft + original details to a Slack channel |
Prerequisites
- n8n instance (self-hosted or n8n Cloud)
- An email account accessible via IMAP (Gmail, Outlook, Zoho, custom domain: any IMAP server works)
- OpenAI API key (platform.openai.com)
- SMTP access for the same or a separate sending address
- Slack workspace with a
#email-reviewchannel (optional but recommended)
Step 1: Set Up Your IMAP Credential
In n8n, go to Credentials → New → IMAP and enter your mail server details. For Gmail you’ll need to enable App Passwords (two-step verification must be on). For most corporate mailboxes you’ll use the same host/port as your Outlook or Thunderbird config.
Common IMAP hosts:
- Gmail:
imap.gmail.com, port 993, SSL - Outlook / Hotmail:
outlook.office365.com, port 993, SSL - Custom domain (cPanel):
mail.yourdomain.com, port 993, SSL
Step 2: Set Up Your OpenAI Credential
Go to Credentials → New → HTTP Header Auth. Set the header name to Authorization and the value to Bearer YOUR_API_KEY. This is used by the Generate AI Reply HTTP Request node to authenticate with OpenAI’s API.
Step 3: Configure the Schedule Trigger
The first node fires the workflow on a fixed interval. The default is every 5 minutes, fine for most inboxes. If you have high email volume, drop it to every 2 minutes. For low-volume mailboxes a 15-minute interval reduces API costs significantly.
Rule: Every 5 minutesStep 4: Read Unread Emails (IMAP Node)
The Read Unread Emails node connects to your IMAP credential and fetches all unread messages from the INBOX folder. Key settings:
- Mailbox:
INBOX, or a specific sub-folder if you route certain emails there - Post-process action:
Mark as read, which prevents the same email from being processed twice - Mark seen:
true, sets the \Seen IMAP flag immediately on fetch
If there are no unread emails n8n returns zero items and the rest of the workflow is skipped, so no wasted API calls.
Step 5: Extract Email Fields (Set Node)
Raw IMAP output is nested. This Set node pulls out exactly what the AI needs:
senderEmail  = {{ $json.from?.value?.[0]?.address ?? '' }}
senderName   = {{ $json.from?.value?.[0]?.name || $json.from?.value?.[0]?.address }}
subject      = {{ $json.subject ?? '(no subject)' }}
emailBody    = {{ ($json.text ?? $json.html ?? '').slice(0, 3000) }}
messageId    = {{ $json.messageId ?? '' }}
receivedAt   = {{ $json.date ?? '' }}
The .slice(0, 3000) cap on the body is important: it limits token usage and prevents oversized prompts from very long emails (newsletters, threads).
Step 6: Generate AI Reply (HTTP Request → OpenAI)
This is the core AI step. The node sends a POST request to https://api.openai.com/v1/chat/completions with a carefully crafted system prompt that tells the AI to always return a JSON object with reply and confidence fields.
The system prompt key line:
"confidence": a number from 0 to 1 —
  1.0 = simple clear question
  0.75 = moderate complexity
  0.5 = unclear intent
  0.25 = complaint or sensitive topic
  0.0 = legal / urgent / needs escalation
Using response_format: { type: "json_object" } forces OpenAI to return valid JSON every time: no hallucinated text before the JSON, no parse failures.
Model recommendation: gpt-4o-mini hits the sweet spot of quality vs. cost for email replies. A full gpt-4o run costs ~10× more per email with marginal quality improvement for routine queries.
Step 7: Parse AI Response (Code Node)
The Code node handles the raw API response and merges the AI output back with the original email fields:
const raw = item.json?.choices?.[0]?.message?.content ?? '{}';
const parsed = JSON.parse(raw);

return {
  senderEmail:  emailFields.json.senderEmail,
  senderName:   emailFields.json.senderName,
  subject:      emailFields.json.subject,
  aiReply:      parsed.reply ?? '',
  confidence:   parseFloat(parsed.confidence) || 0,
  autoReply:    (parseFloat(parsed.confidence) || 0) >= 0.75
};
The try/catch fallback sets a generic “we’ll follow up” message if the AI ever returns malformed JSON, a useful safety net.
Step 8: Branch on Confidence (IF Node)
The IF node routes items to two branches:
- True (≥ 0.75): → Send Auto-Reply
- False (< 0.75): → Flag for Human Review
Tune the threshold to your comfort level. Start at 0.9 when going live, lower it gradually as you verify reply quality over a week.
Step 9: Send Auto-Reply (Email Send / SMTP)
On the high-confidence branch the reply is sent immediately. Update the fromEmail field with your sending address and make sure your SMTP credential is configured correctly.
The reply template wraps the AI text in a polite context:
Hi {{ $json.senderName }},

{{ $json.aiReply }}

Best regards,
Support Team

---
This is an automated response. For complex enquiries please
reply to this email and a team member will follow up.
Step 10: Flag for Human Review (Slack)
Low-confidence emails post a formatted Slack message to #email-review containing the sender, subject, AI confidence score, and the AI’s draft reply. This means a human always sees a ready-made draft: they can copy, tweak, and send in seconds rather than starting from scratch.
Testing the Workflow
Before activating:
- Send a test email to your monitored inbox from another address
- In n8n, click Test Workflow on the Schedule Trigger (or use Execute Workflow)
- Watch each node’s output to confirm the email is fetched, the AI response parses correctly, and the IF branch routes as expected
- Check that the auto-reply arrives in your test inbox
- Once satisfied, click Activate to go live
Cost Estimate
At GPT-4o-mini pricing (~$0.15 per 1M input tokens, $0.60 per 1M output tokens), processing 100 emails/day (avg. 500 tokens each) costs roughly $0.04/day, about $1.20/month. Even at 1,000 emails/day that’s only $12/month, far cheaper than any email support tool subscription.
Customization Ideas
- Multi-language support: Add a language detection step and include the detected language in the AI prompt so replies match the sender’s language
- CRM integration: After sending the reply, log the interaction to HubSpot, Airtable, or Google Sheets using an additional node
- Blacklist filter: Add an IF node before the AI step to skip no-reply addresses, mailing lists, and newsletter senders
- Category routing: Ask the AI to also categorize the email (support, sales, billing, spam) and route to different Slack channels or team members
- Business hours: Wrap the auto-send branch in a time-range check so auto-replies only go out during business hours, more natural for customers
Get the Ready-Made Template
Skip the build and download the complete workflow JSON, Setup Guide PDF, and Credentials Guide PDF.
Conclusion
This nine-node workflow gives you a fully autonomous email autoresponder that works with any IMAP-accessible mailbox, not just Gmail. The confidence-score routing means you stay in control: the AI handles the easy stuff automatically, and anything nuanced lands in Slack for a human call. Swap GPT-4o-mini for a cheaper model to cut costs, or bump to GPT-4o for higher-stakes industries. Either way you’re looking at less than $2/month to handle hundreds of emails per day.